

In today's digital landscape, providing users with a variety of authentication options is crucial for creating a smooth and engaging user experience. One of the most popular and convenient methods is integrating Google Sign-in, which allows users to leverage their existing Google accounts to access your application. By incorporating this feature, you can not only improve user engagement but also reduce friction in the sign-up and login processes.
In this blog post, we'll explore the benefits of integrating Google Sign-in and guide you through the step-by-step process of implementing it in your Node.js application using the Passport.js authentication middleware.
Pre-requisites for Integrating Google Sign-In
Node.js and npm: Ensure that you have Node.js and its package manager, npm, installed on your development machine.
Google Cloud Platform Account: To integrate Google Sign-In, you'll need to set up a project in the Google Cloud Platform Console. This will provide you with the necessary client ID and client secret that your application will use to authenticate with Google.
Familiarity with Express.js: While not strictly required, having a basic understanding of the Express.js web framework for Node.js will be helpful, as we'll be using it to set up the server-side logic for your application.
How to Create Credentials?
We just have to follow these steps to get the client id and client secret from the google cloud console.
Go to Google Cloud Console and make a Account.
Create a New Project and Go to the APIs & Service section of that project.

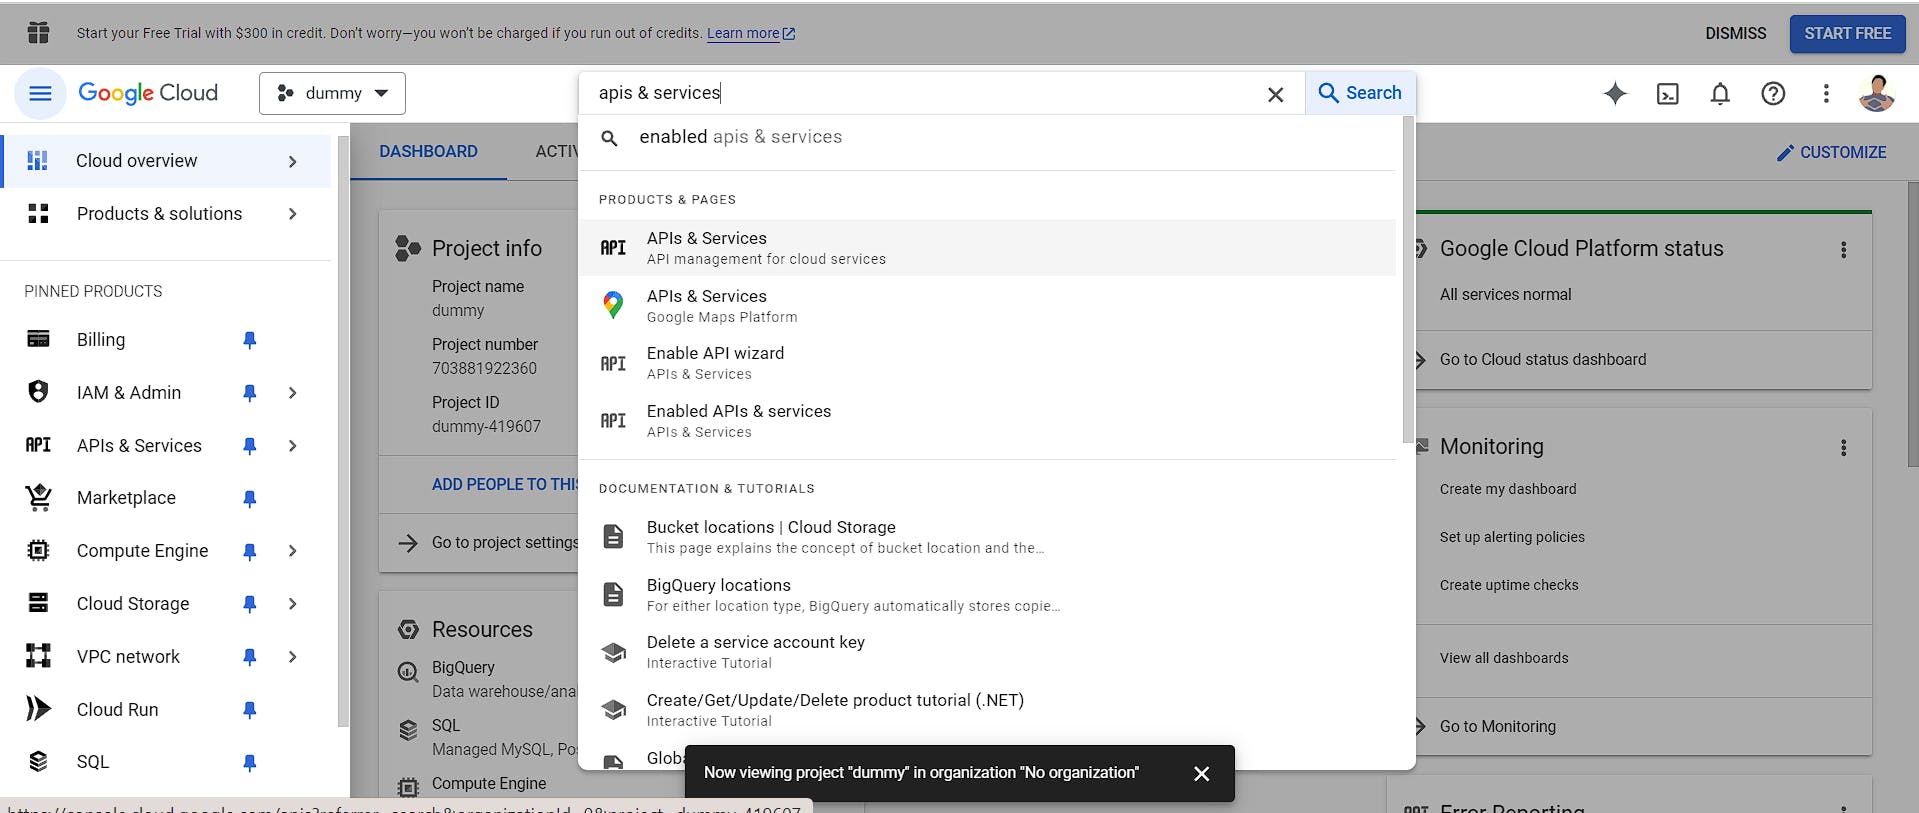
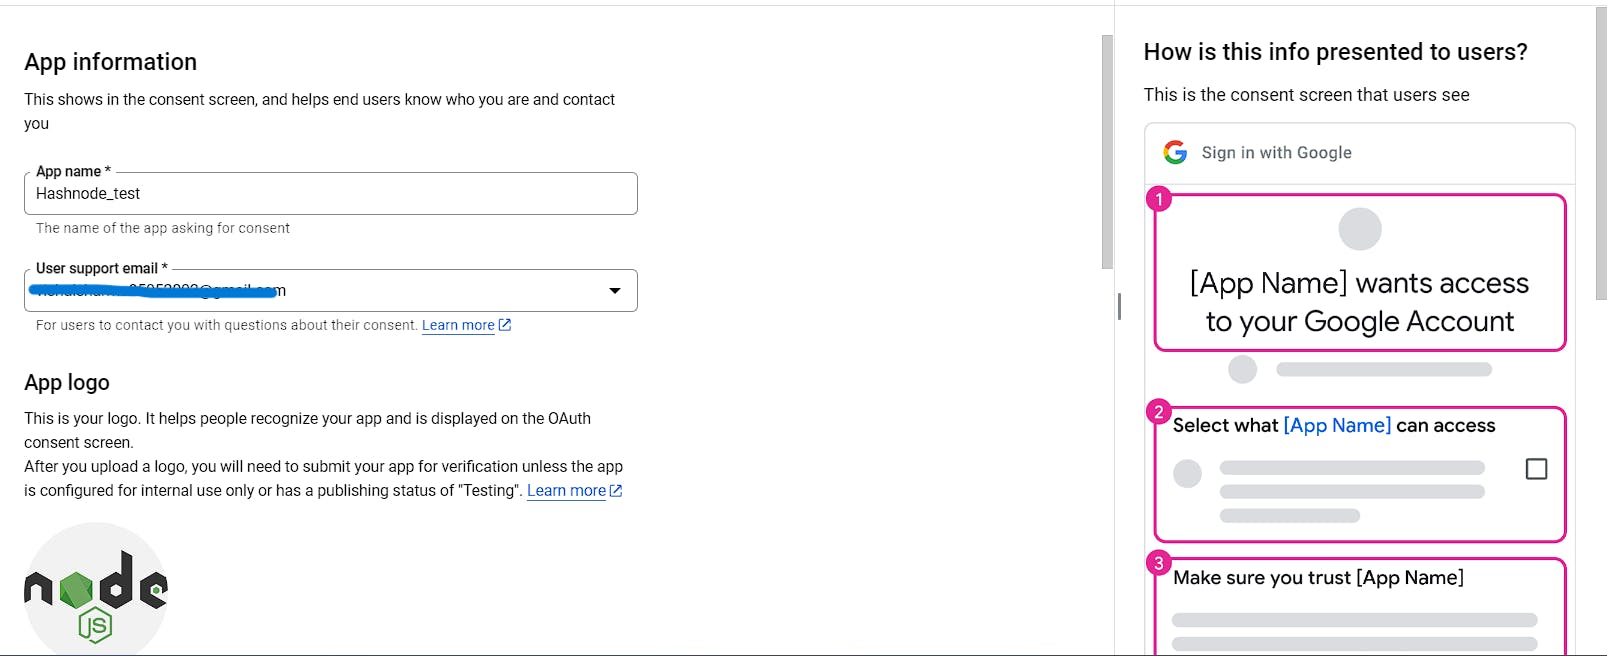
- Go to the OAuth consent screen option and choose the external option
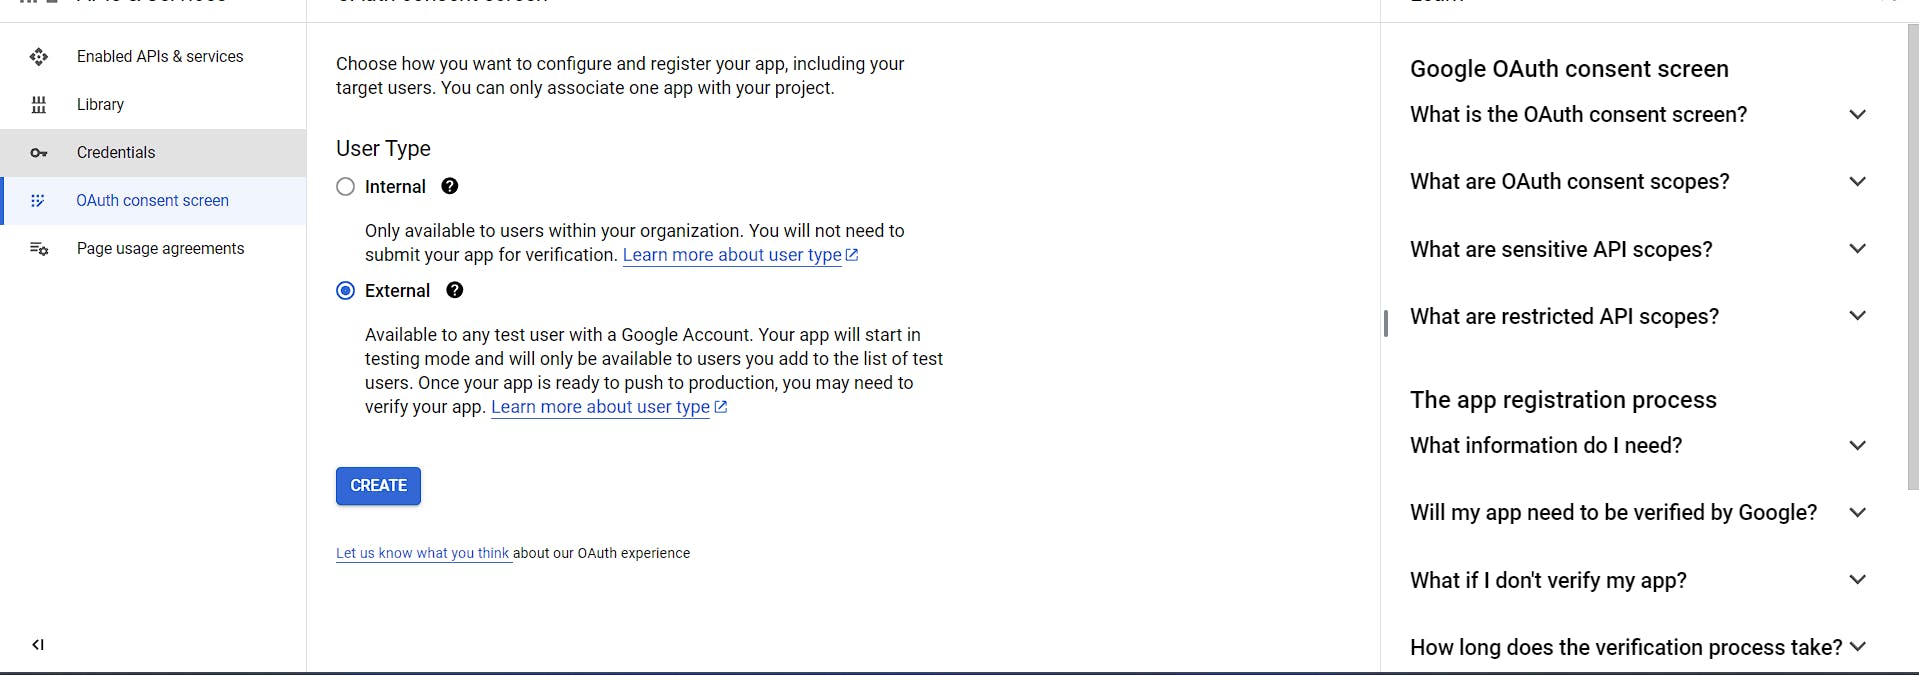
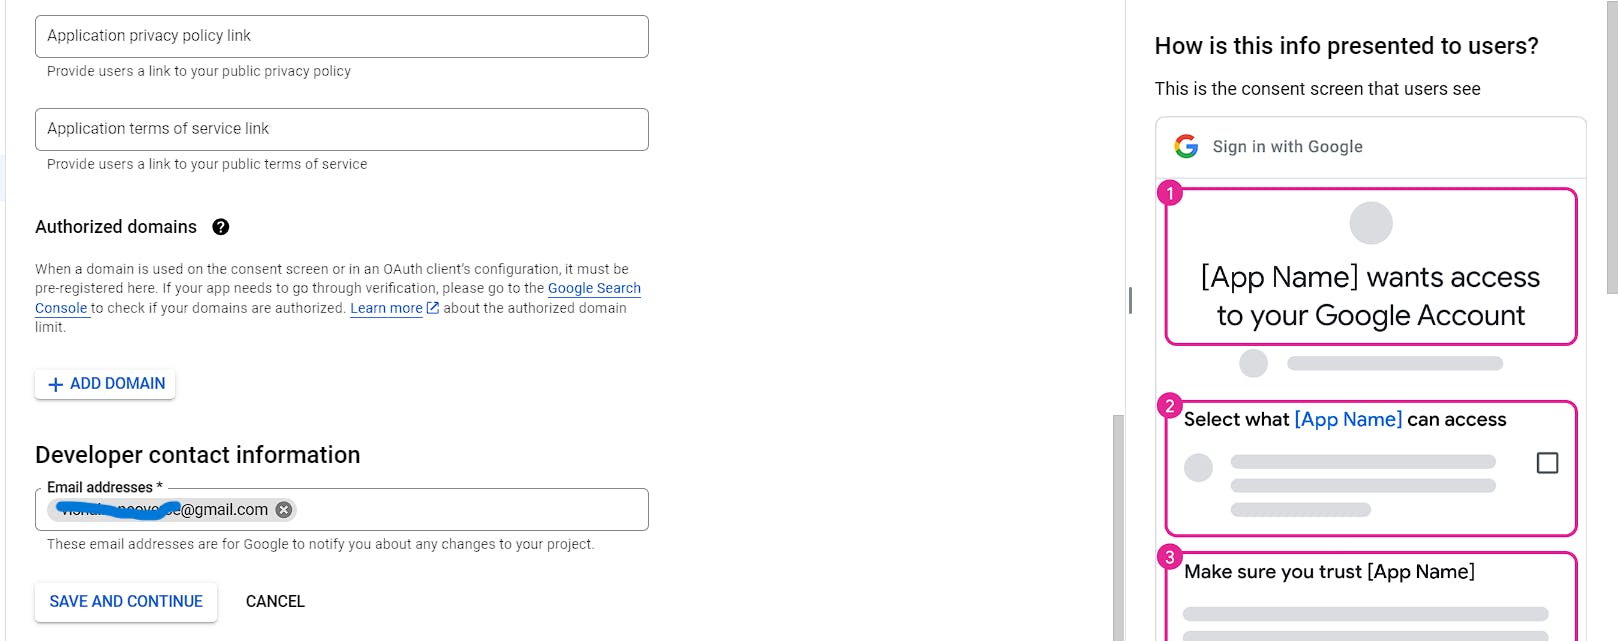
- Now we have to give some basic information about application and developer information.
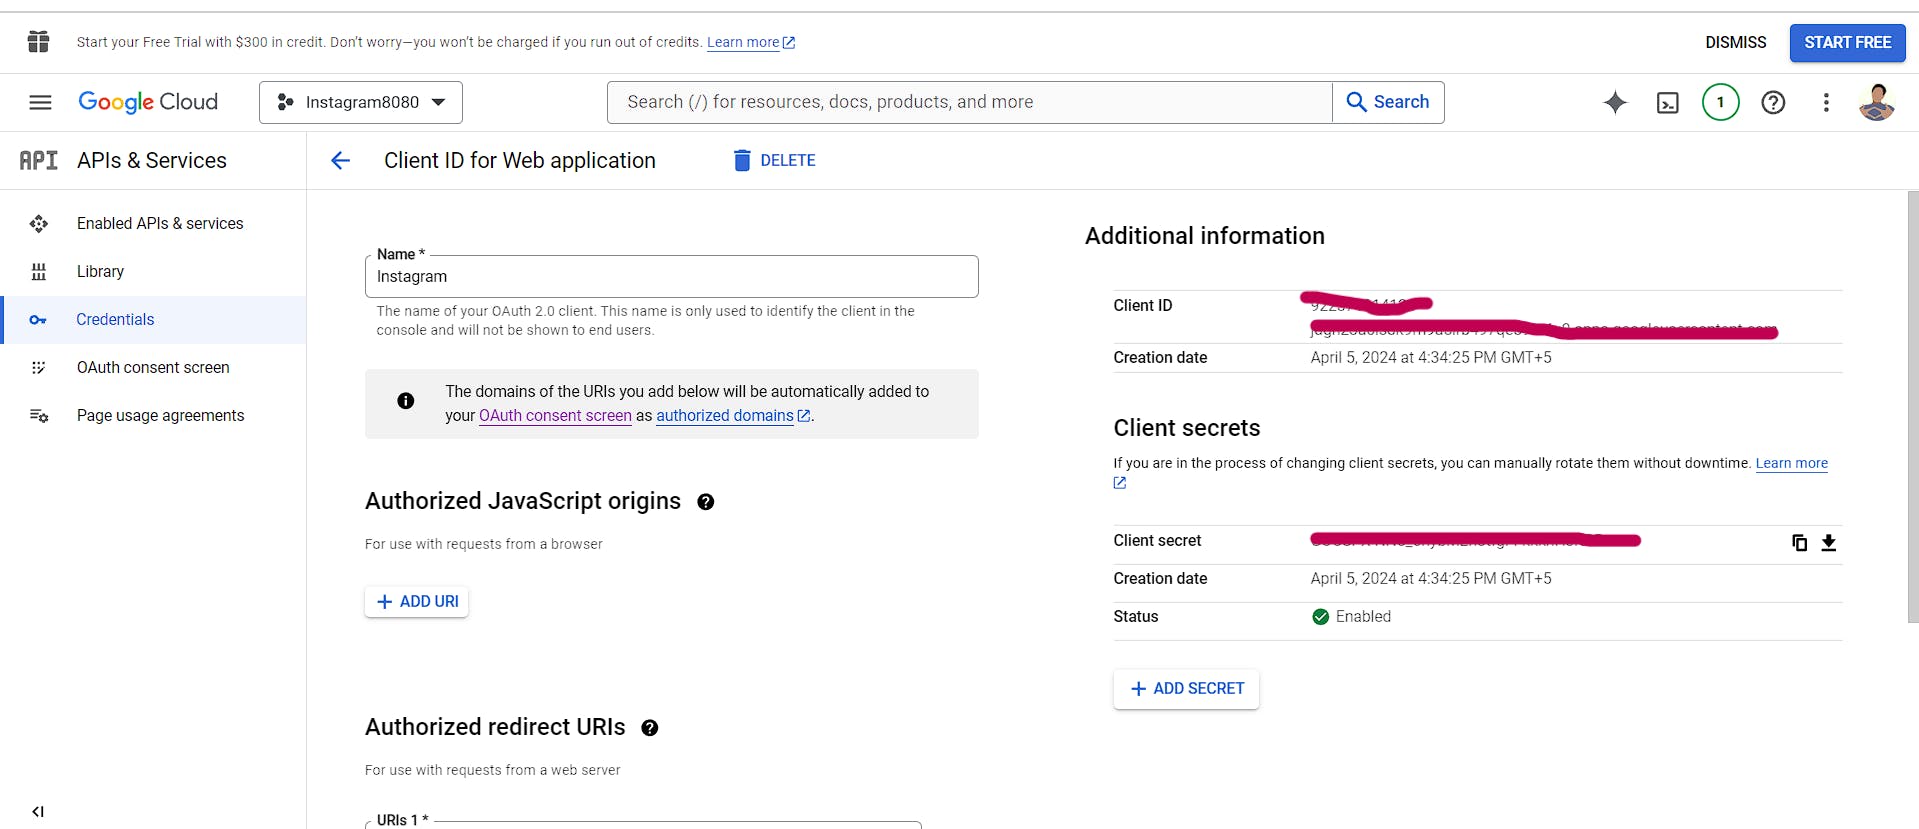
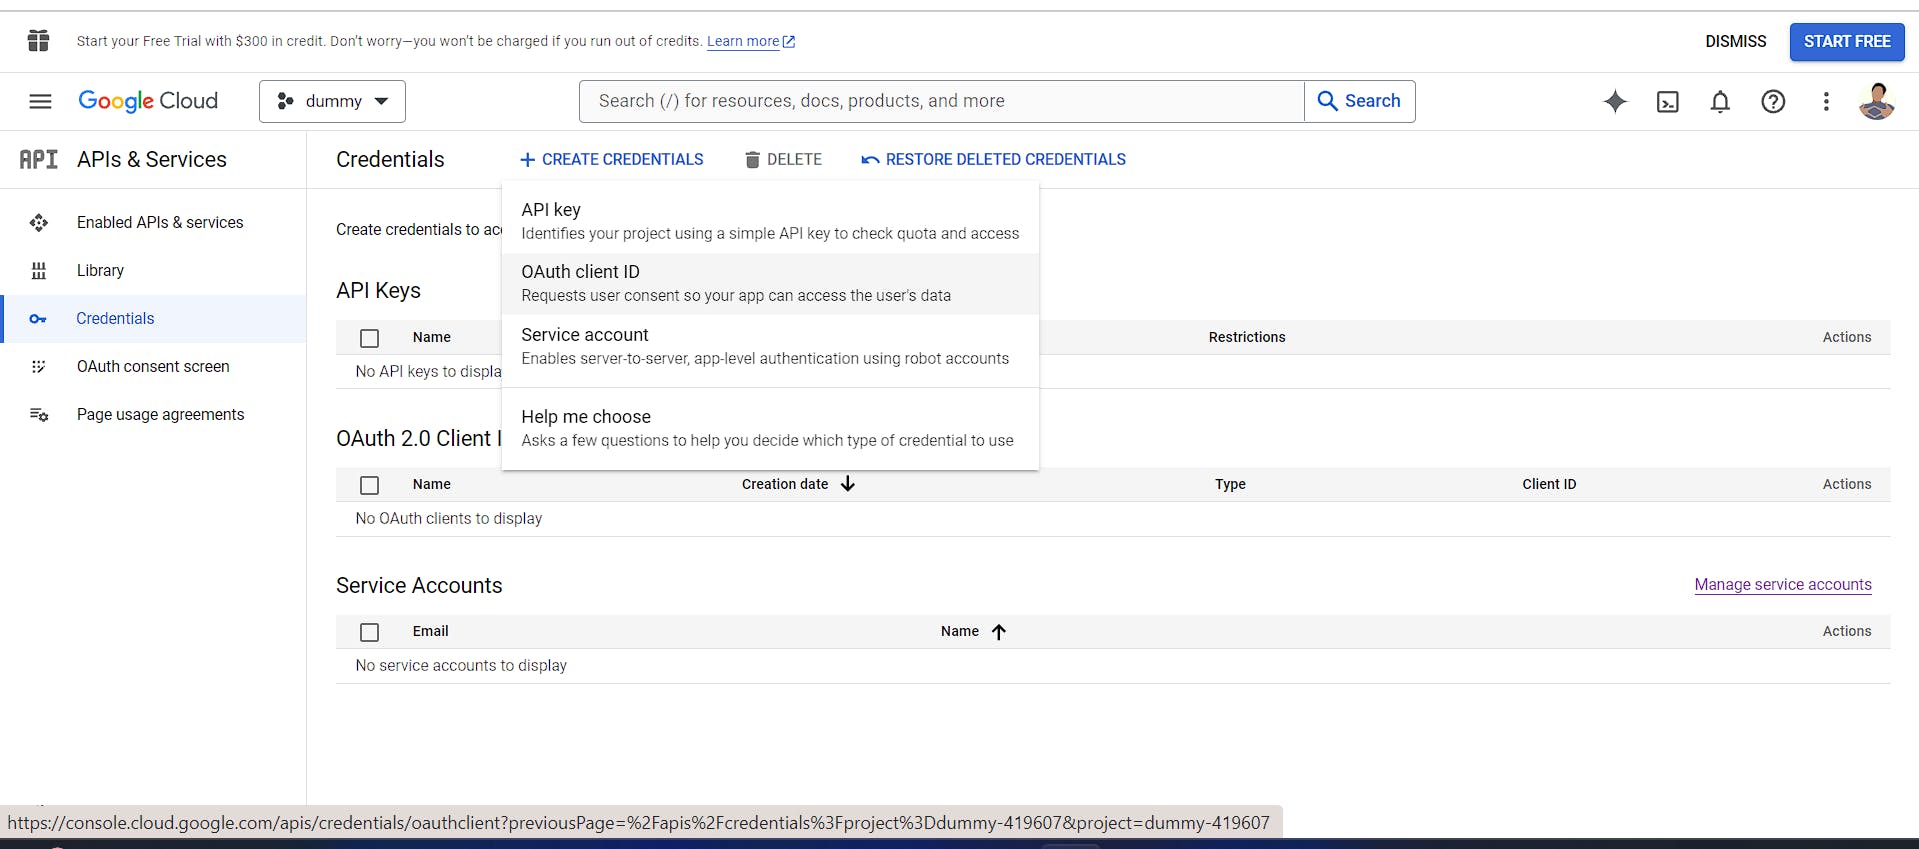
- Now Move to the credential section go Create credentials and choose OAuth client ID.
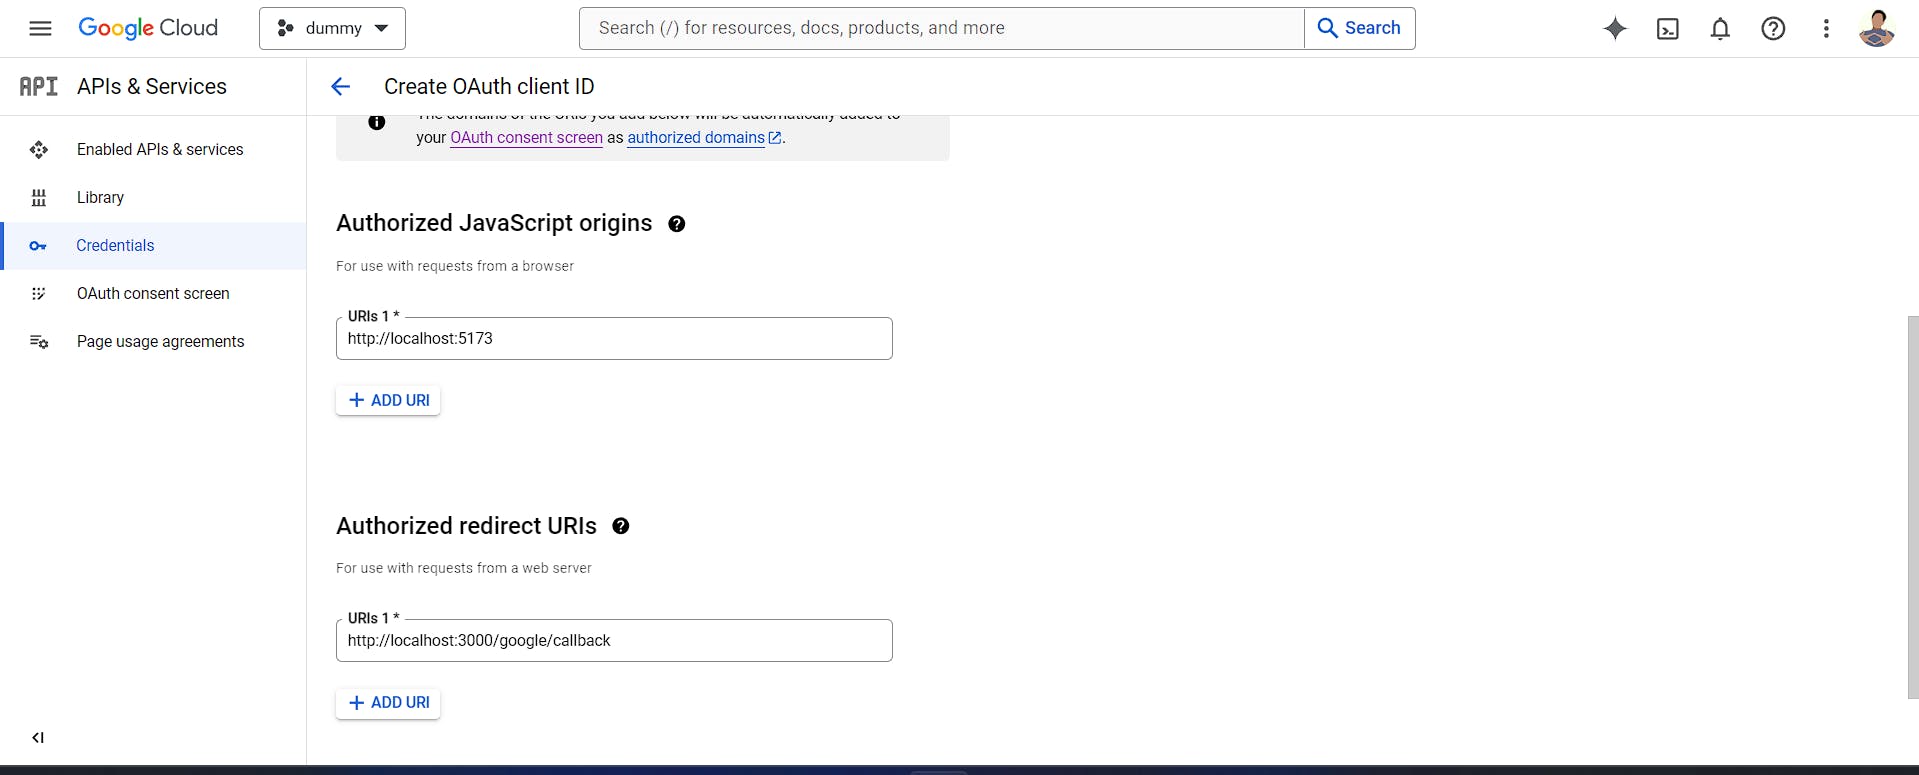
Now give the information about the authorized frontend origin from where we get the request and the callback URL.
Now keep the credentials with you safe, they will be required soon.
Implementation
- Create an empty react and Node.js project and in the Node project try to install some of the packages.
npm i express dotenv express-session passport passport-google-oauth20
- Now we can keep do the following things on our backend side
//config/passport.js
const GoogleStrategy = require('passport-google-oauth20').Strategy;
require('dotenv').config();
module.exports = (passport) => {
  passport.use(new GoogleStrategy({
    clientID: process.env.clientID,
    clientSecret: process.env.clientSecret,
    callbackURL: process.env.callbackURL
  }, (accessToken, refreshToken, profile, done) => {
    return done(null, profile);
  }));

  passport.serializeUser((user, done) => {
    done(null, user);
  });
  passport.deserializeUser((user, done) => {
    done(null, user);
  });
};
// routes/auth.js
const express = require('express');
const passport = require('passport');
const router = express.Router();

router.get("/login/failed", (req, res) => {
  res.status(401).json({
    error: true,
    message: "Log in failure",
  });
});

router.get('/google/callback', passport.authenticate('google', {
  scope: ['profile', 'email'],
  successRedirect: 'http://localhost:5173/dashboard',
  failureRedirect: '/login/failed'
}));

module.exports = router;
//app.js
const express = require('express');
const session = require('express-session');
const passport = require('passport');
const cors = require('cors');
require('./config/passport')(passport);

require('dotenv').config();

const app = express();
const port = 3000;

app.use(session({
  secret: process.env.SECRET,
  resave: false,
  saveUninitialized: true
}));

app.use(cors());
app.use(passport.initialize());
app.use(passport.session());

app.use('/', require('./routes/auth'));


app.listen(port, () => {
  console.log(`Server is running on port ${port}`);
});
//.env
clientSecret='YOUR_CLIENT_SECRET'
clientID='YOUR_CLIENT_ID'
callbackURL='https://your_callback_url:port'
SECRET='secret123'
If I talk about the overall flow then when we will click on the signup with google button first of all we will redirect to our route which will have passport as middleware and where it will authenticate us.
router.get('/google/callback', passport.authenticate('google', {
  scope: ['profile', 'email'],
  successRedirect: 'http://localhost:5173/dashboard',
  failureRedirect: '/login/failed'
}));
When we are authenticated then we will get to our dashboard.
If you found this blog helpful or enjoyable, consider sharing it with your friends and on social media platforms like X. Additionally, if you're interested in diving deeper into the code discussed in this blog, you can find the complete source code on Git Hub.
Will meet you next week with some more interesting stuff so till then keep learning, keep growing. Happy Coding! 👨💻👨💻